NextAuth.js Authentication with Next.js App Router: A Complete Guide
NextAuth.js Authentication with Next.js App Router: A Beginner's Guide
Authentication is a critical part of most web applications, but implementing it securely can be challenging. NextAuth.js simplifies this process for Next.js applications by providing a complete authentication solution with minimal setup. In this beginner-friendly tutorial, we'll learn how to add authentication to a Next.js application using NextAuth.js.
By the end of this tutorial, you'll understand how to implement both social login (Google) and credential-based authentication (email/password) in your Next.js application using JWT for session management. We'll build a simple but functional authentication system with login and logout capabilities.
📌What We'll Build
We'll create a simple Next.js application with:
1• Login with Google or email/password
2• Protected pages that require authentication
3• User session display
4• Logout functionality
This tutorial focuses on the core concepts of NextAuth.js with JWT sessions (no database required). In future tutorials, we'll explore more advanced features like database integration, middleware protection, and role-based access control.
📌Prerequisites
1• Basic knowledge of Next.js and React
2• Node.js installed on your machine
3• A Google Cloud Platform account (for OAuth setup)
4• VS Code or your preferred code editor
📌Understanding Authentication Flow
Before diving into code, let's understand how authentication flows in a NextAuth.js application:
11. User clicks "Sign In" button
22. NextAuth.js handles the request based on the provider:
3   - For Google: Redirects to Google login page
4   - For Credentials: Validates email/password locally
53. After successful authentication:
6   - NextAuth creates a session
7   - Session information is encrypted and stored in cookies
8   - User is redirected back to your application
94. For protected routes:
10   - Application checks for valid session
11   - If valid: Shows content
12   - If invalid: Redirects to login
135. When user logs out:
14   - Session is destroyed
15   - Cookies are cleared
16   - User is redirected to public page
📌Setting Up Your Project
Let's start by creating a new Next.js project and installing NextAuth.js:
1# Create a new Next.js project
2npx create-next-app my-auth-app
3cd my-auth-app
4
5# Install NextAuth.js
6npm install next-auth
Now, let's set up the environment variables. Create a `.env.local` file in your project root:
1# NextAuth Configuration
2NEXTAUTH_URL=http://localhost:3000
3NEXTAUTH_SECRET=your-long-random-secret-string
4
5# Google Provider
6GOOGLE_CLIENT_ID=your-google-client-id
7GOOGLE_CLIENT_SECRET=your-google-client-secretFor production, use a strong random string for 'NEXTAUTH_SECRET' (you can generate one with 'openssl rand -base64 32').
📌Core Component: The [...nextauth] API Route
The foundation of NextAuth.js is a special API route that handles all authentication-related requests. With the App Router, we'll create this in the `app/api/auth/[...nextauth]` directory:
1// app/api/auth/[...nextauth]/route.js
2
3import NextAuth from "next-auth";
4import GoogleProvider from "next-auth/providers/google";
5import CredentialsProvider from "next-auth/providers/credentials";
6
7export const authOptions = {
8  // Configure JWT
9  session: {
10    strategy: "jwt",
11    maxAge: 30 * 24 * 60 * 60, // 30 days
12  },
13
14  // Configure providers
15  providers: [
16    GoogleProvider({
17      clientId: process.env.GOOGLE_CLIENT_ID,
18      clientSecret: process.env.GOOGLE_CLIENT_SECRET,
19    }),
20
21    CredentialsProvider({
22      name: "Credentials",
23      credentials: {
24        email: { label: "Email", type: "email" },
25        password: { label: "Password", type: "password" },
26      },
27      async authorize(credentials) {
28        // This is where you would typically validate against a database
29        // For demo purposes, we'll use a simple static check
30
31        if (
32          credentials.email === "user@example.com" &&
33          credentials.password === "password123"
34        ) {
35          return {
36            id: "1",
37            name: "Demo User",
38            email: "user@example.com",
39          };
40        }
41
42        // Authentication failed
43        return null;
44      },
45    }),
46  ],
47
48  // Callbacks are functions that run during various stages of authentication
49  callbacks: {
50    async jwt({ token, user }) {
51      // Initial sign in
52      if (user) {
53        token.id = user.id;
54        // You can add custom fields here
55      }
56      return token;
57    },
58
59    async session({ session, token }) {
60      // Make certain token properties available client-side
61      if (session?.user) {
62        session.user.id = token.id;
63      }
64      return session;
65    },
66  },
67
68  // Pages is an object that allows us to customize the default page URLs
69  pages: {
70    signIn: '/auth/signin',
71    error: '/auth/error',
72  },
73
74  // Enable debug only in development
75  debug: process.env.NODE_ENV === 'development',
76};
77
78// Export NextAuth handler
79const handler = NextAuth(authOptions);
80export { handler as GET, handler as POST }; • We're using the JWT strategy for sessions (no database needed)
• We've configured both Google and Credentials providers
• The `callbacks` object lets us customize token and session data
• We've defined custom paths for sign-in and error pages
📌Setting Up Google OAuth
To use Google as a provider, you need to create OAuth credentials in the Google Cloud Console:
1. Go to the Google Cloud Console
2. Create a new project (or select an existing one)
3. From the left menu, navigate to 'APIs & Services' > 'Credentials'
4. Click 'Create Credentials' > 'OAuth client ID' > (To create an OAuth client ID, you must first configure your consent screen)
5. Select 'Web application' as the application type
6. Add `http://localhost:3000` to the Authorized JavaScript origins
7. Add `http://localhost:3000/api/auth/callback/google` to the Authorized redirect URIs
8. Click 'Create' and copy your Client ID and Client Secret
9. Add these credentials to your `.env.local` file
📌Creating Login Form Components
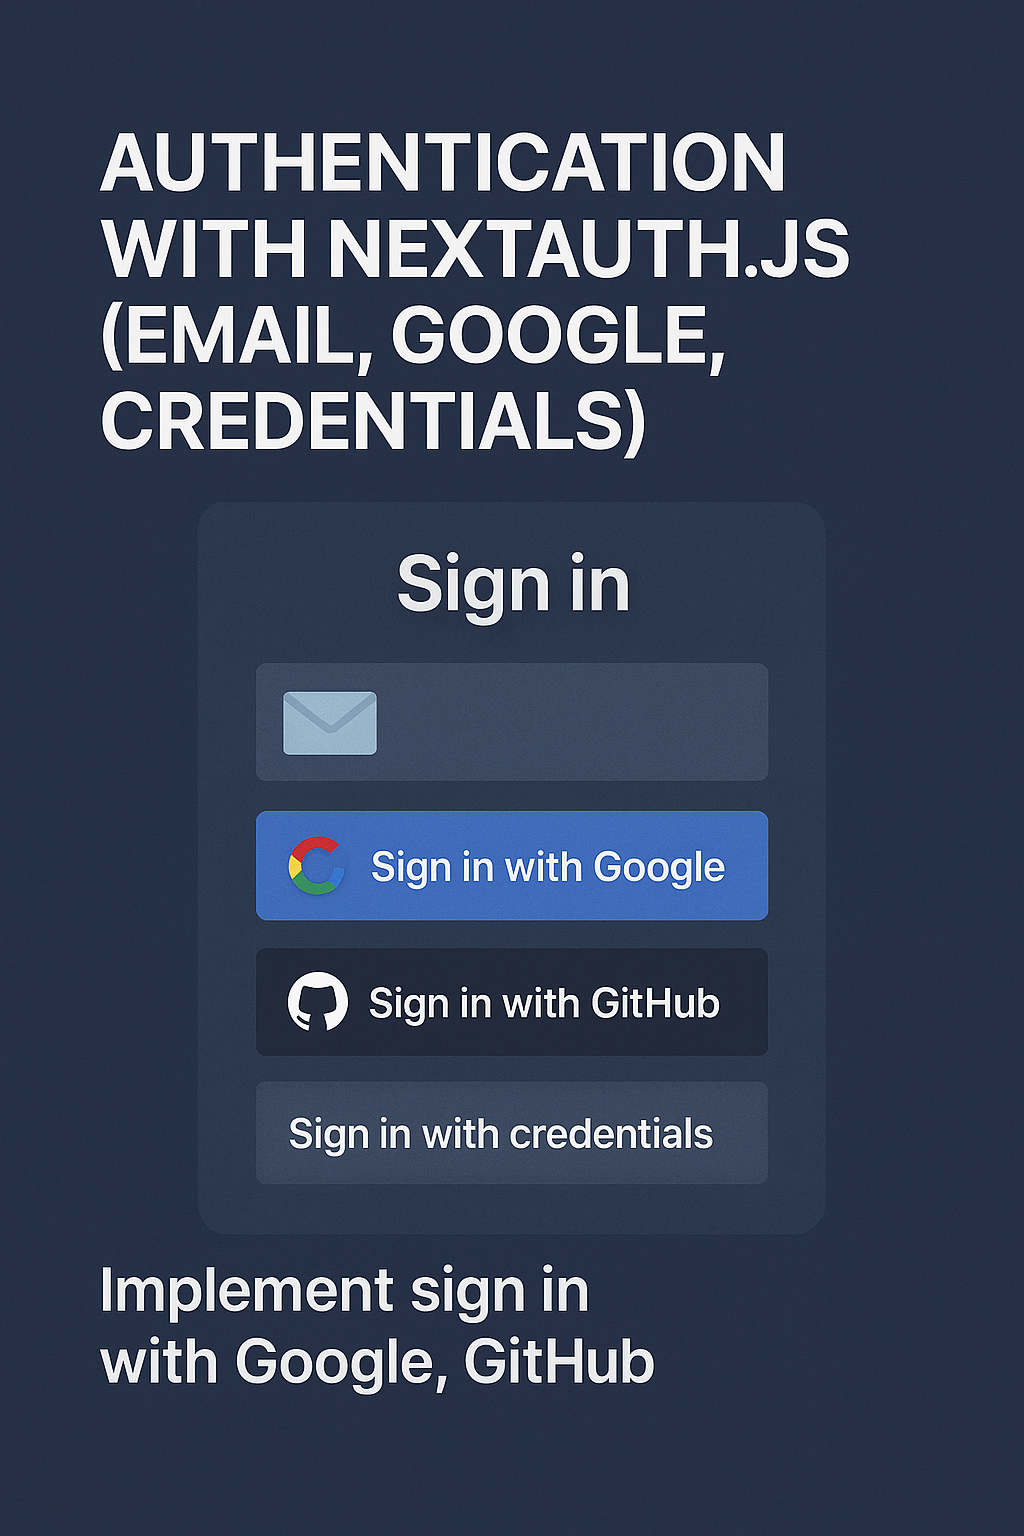
Let's create a custom sign-in page that supports both Google and credential-based login:
1// app/auth/signin/page.jsx
2
3"use client";
4
5import { useState } from "react";
6import { signIn } from "next-auth/react";
7import { useRouter } from "next/navigation";
8
9export default function SignInPage() {
10  const [email, setEmail] = useState("");
11  const [password, setPassword] = useState("");
12  const [error, setError] = useState("");
13  const [loading, setLoading] = useState(false);
14  const router = useRouter();
15
16  const handleSubmit = async (e) => {
17    e.preventDefault();
18    setLoading(true);
19    setError("");
20
21    try {
22      const result = await signIn("credentials", {
23        redirect: false,
24        email,
25        password,
26      });
27
28      if (result.error) {
29        setError("Invalid email or password");
30      } else {
31        router.push("/dashboard");
32        router.refresh(); // Refresh to update server components
33      }
34    } catch (err) {
35      setError("An unexpected error occurred");
36      console.error(err);
37    } finally {
38      setLoading(false);
39    }
40  };
41
42  const handleGoogleSignIn = () => {
43    signIn("google", { callbackUrl: "/dashboard" });
44  };
45
46  return (
47    <div className="max-w-md mx-auto p-6 bg-white rounded shadow">
48      <h1 className="text-2xl font-bold mb-6">Sign In</h1>
49
50      {error && (
51        <div className="mb-4 p-3 bg-red-100 text-red-700 rounded">
52          {error}
53        </div>
54      )}
55
56      <form onSubmit={handleSubmit}>
57        <div className="mb-4">
58          <label className="block mb-1">Email</label>
59          <input
60            type="email"
61            value={email}
62            onChange={(e) => setEmail(e.target.value)}
63            className="w-full p-2 border rounded"
64            required
65          />
66        </div>
67
68        <div className="mb-4">
69          <label className="block mb-1">Password</label>
70          <input
71            type="password"
72            value={password}
73            onChange={(e) => setPassword(e.target.value)}
74            className="w-full p-2 border rounded"
75            required
76          />
77        </div>
78
79        <button
80          type="submit"
81          disabled={loading}
82          className="w-full p-2 bg-blue-600 text-white rounded hover:bg-blue-700"
83        >
84          {loading ? "Signing in..." : "Sign In"}
85        </button>
86      </form>
87
88      <div className="mt-4 text-center">
89        <span className="block mb-2">Or</span>
90        <button
91          onClick={handleGoogleSignIn}
92          className="w-full p-2 bg-white border border-gray-300 rounded flex items-center justify-center"
93        >
94          <svg
95            xmlns="http://www.w3.org/2000/svg"
96            viewBox="0 0 48 48"
97            width="24px"
98            height="24px"
99            className="mr-2"
100          >
101            <path fill="#FFC107" d="M43.611,20.083H42V20H24v8h11.303c-1.649,4.657-6.08,8-11.303,8c-6.627,0-12-5.373-12-12c0-6.627,5.373-12,12-12c3.059,0,5.842,1.154,7.961,3.039l5.657-5.657C34.046,6.053,29.268,4,24,4C12.955,4,4,12.955,4,24c0,11.045,8.955,20,20,20c11.045,0,20-8.955,20-20C44,22.659,43.862,21.35,43.611,20.083z"/>
102            <path fill="#FF3D00" d="M6.306,14.691l6.571,4.819C14.655,15.108,18.961,12,24,12c3.059,0,5.842,1.154,7.961,3.039l5.657-5.657C34.046,6.053,29.268,4,24,4C16.318,4,9.656,8.337,6.306,14.691z"/>
103            <path fill="#4CAF50" d="M24,44c5.166,0,9.86-1.977,13.409-5.192l-6.19-5.238C29.211,35.091,26.715,36,24,36c-5.202,0-9.619-3.317-11.283-7.946l-6.522,5.025C9.505,39.556,16.227,44,24,44z"/>
104            <path fill="#1976D2" d="M43.611,20.083H42V20H24v8h11.303c-0.792,2.237-2.231,4.166-4.087,5.571c0.001-0.001,0.002-0.001,0.003-0.002l6.19,5.238C36.971,39.205,44,34,44,24C44,22.659,43.862,21.35,43.611,20.083z"/>
105          </svg>
106          Sign in with Google
107        </button>
108      </div>
109    </div>
110  );
111} • We're using the `signIn()` function from NextAuth.js to handle both authentication methods
• For credentials, we set `redirect: false` to handle the response manually
• For Google, we set `callbackUrl` to redirect after successful authentication
• Form validation provides feedback to the user
📌Creating a Sign-Out Button
Let's create a reusable sign-out button component:
1// components/SignOutButton.jsx
2
3"use client";
4
5import { signOut } from "next-auth/react";
6
7export default function SignOutButton() {
8  return (
9    <button
10      onClick={() => signOut({ callbackUrl: "/" })}
11      className="bg-red-600 text-white px-4 py-2 rounded hover:bg-red-700"
12    >
13      Sign Out
14    </button>
15  );
16}
📌Checking Session Status
Let's create a component that can display different content based on the user's authentication status:
1// components/AuthStatus.jsx
2
3"use client";
4
5import { useSession } from "next-auth/react";
6import Link from "next/link";
7
8export default function AuthStatus() {
9  const { data: session, status } = useSession();
10
11  if (status === "loading") {
12    return <span>Loading...</span>;
13  }
14
15  if (status === "authenticated") {
16    return (
17      <div className="flex items-center gap-2">
18        <img
19          src={session.user.image || "/default-avatar.png"}
20          alt="Profile"
21          className="w-8 h-8 rounded-full"
22        />
23        <span>{session.user.name}</span>
24      </div>
25    );
26  }
27
28  return (
29    <Link href="/auth/signin" className="text-blue-600 hover:underline">
30      Sign In
31    </Link>
32  );
33}
📌Creating a Protected Dashboard
Now, let's create a dashboard page that requires authentication to access:
1// app/dashboard/page.jsx
2
3import { getServerSession } from "next-auth/next";
4import { authOptions } from "../api/auth/[...nextauth]/route";
5import { redirect } from "next/navigation";
6import SignOutButton from "@/components/SignOutButton";
7
8export default async function DashboardPage() {
9  const session = await getServerSession(authOptions);
10
11  // If not authenticated, redirect to sign-in page
12  if (!session) {
13    redirect("/auth/signin");
14  }
15
16  return (
17    <div className="max-w-4xl mx-auto p-6">
18      <div className="flex justify-between items-center mb-8">
19        <h1 className="text-3xl font-bold">Dashboard</h1>
20        <SignOutButton />
21      </div>
22
23      <div className="bg-white shadow rounded p-6">
24        <h2 className="text-xl font-semibold mb-4">
25          Welcome, {session.user.name}!
26        </h2>
27        <p>Email: {session.user.email}</p>
28      </div>
29    </div>
30  );
31} • We use `getServerSession()` to check authentication on the server side
• The `redirect()` function sends unauthenticated users to the login page
• We display user information from the session object
📌Updating the Layout with Authentication Provider
For client components to access the session, we need to wrap our application with a SessionProvider. Let's update the root layout:
1// app/layout.jsx
2
3import { Inter } from "next/font/google";
4import "./globals.css";
5import SessionProvider from "@/components/SessionProvider";
6import { getServerSession } from "next-auth/next";
7import { authOptions } from "./api/auth/[...nextauth]/route";
8
9const inter = Inter({ subsets: ["latin"] });
10
11export const metadata = {
12  title: "NextAuth.js Tutorial",
13  description: "Learn authentication with NextAuth.js",
14};
15
16export default async function RootLayout({ children }) {
17  const session = await getServerSession(authOptions);
18
19  return (
20    <html lang="en">
21      <body className={inter.className}>
22        <SessionProvider session={session}>
23          {children}
24        </SessionProvider>
25      </body>
26    </html>
27  );
28}
Now, we need to create the SessionProvider component:
1// components/SessionProvider.jsx
2
3"use client";
4
5import { SessionProvider as NextAuthSessionProvider } from "next-auth/react";
6
7export default function SessionProvider({ children, session }) {
8  return (
9    <NextAuthSessionProvider session={session}>
10      {children}
11    </NextAuthSessionProvider>
12  );
13}
📌Adding a Navigation Bar
Let's create a navigation bar that shows different options based on authentication status:
1// components/Navbar.jsx
2
3"use client";
4
5import Link from "next/link";
6import { useSession } from "next-auth/react";
7import { signOut } from "next-auth/react";
8
9export default function Navbar() {
10  const { data: session, status } = useSession();
11  const isAuthenticated = status === "authenticated";
12
13  return (
14    <nav className="bg-gray-800 text-white p-4">
15      <div className="max-w-6xl mx-auto flex justify-between items-center">
16        <Link href="/" className="text-xl font-bold">
17          NextAuth Demo
18        </Link>
19
20        <div className="flex items-center gap-4">
21          <Link href="/" className="hover:text-gray-300">
22            Home
23          </Link>
24
25          {isAuthenticated ? (
26            <>
27              <Link href="/dashboard" className="hover:text-gray-300">
28                Dashboard
29              </Link>
30
31              <div className="flex items-center gap-2">
32                <img
33                  src={session.user.image || "/default-avatar.png"}
34                  alt="Profile"
35                  className="w-8 h-8 rounded-full"
36                />
37                <span>{session.user.name}</span>
38              </div>
39
40              <button
41                onClick={() => signOut({ callbackUrl: "/" })}
42                className="bg-red-600 px-3 py-1 rounded hover:bg-red-700"
43              >
44                Logout
45              </button>
46            </>
47          ) : (
48            <Link
49              href="/auth/signin"
50              className="bg-blue-600 px-3 py-1 rounded hover:bg-blue-700"
51            >
52              Login
53            </Link>
54          )}
55        </div>
56      </div>
57    </nav>
58  );
59}
Add this to your layout file (just inside the body tag):
1<Navbar />📌Creating a Homepage
Finally, let's create a simple homepage that works for both authenticated and unauthenticated users:
1// app/page.jsx
2
3import Link from "next/link";
4import { getServerSession } from "next-auth/next";
5import { authOptions } from "./api/auth/[...nextauth]/route";
6
7export default async function HomePage() {
8  const session = await getServerSession(authOptions);
9
10  return (
11    <div className="max-w-6xl mx-auto p-6">
12      <div className="text-center py-12">
13        <h1 className="text-4xl font-bold mb-4">
14          Welcome to NextAuth.js Demo
15        </h1>
16
17        <p className="text-xl mb-8">
18          Learn how to implement authentication in Next.js applications
19        </p>
20
21        {session ? (
22          <div className="space-y-4">
23            <p className="text-green-600 font-medium">
24              You are signed in as {session.user.name}
25            </p>
26            <Link
27              href="/dashboard"
28              className="bg-blue-600 text-white px-6 py-3 rounded-lg hover:bg-blue-700"
29            >
30              Go to Dashboard
31            </Link>
32          </div>
33        ) : (
34          <Link
35            href="/auth/signin"
36            className="bg-blue-600 text-white px-6 py-3 rounded-lg hover:bg-blue-700"
37          >
38            Sign In
39          </Link>
40        )}
41      </div>
42
43      <div className="grid grid-cols-1 md:grid-cols-3 gap-8 mt-12">
44        <div className="bg-white p-6 rounded-lg shadow">
45          <h2 className="text-xl font-bold mb-2">Easy Authentication</h2>
46          <p>
47            NextAuth.js makes it simple to add authentication to your Next.js
48            applications with minimal boilerplate code.
49          </p>
50        </div>
51
52        <div className="bg-white p-6 rounded-lg shadow">
53          <h2 className="text-xl font-bold mb-2">Multiple Providers</h2>
54          <p>
55            Support for various authentication providers including social logins,
56            email/password, and more.
57          </p>
58        </div>
59
60        <div className="bg-white p-6 rounded-lg shadow">
61          <h2 className="text-xl font-bold mb-2">JWT Sessions</h2>
62          <p>
63            Secure session management using JWT tokens stored in cookies,
64            with no database required.
65          </p>
66        </div>
67      </div>
68    </div>
69  );
70}
📌Testing Your Authentication Flow
Now that we've built all the components of our authentication system, let's test it:
1. Start your development server:
`npm run dev`
2. Visit http://localhost:3000 - You should see the homepage with a sign-in link
3. Click on 'Sign In' and test both authentication methods:
• Try signing in with Google
• Try signing in with email 'user@example.com' and password 'password123'
4. After successful authentication, you should be redirected to the dashboard
5. Test the sign-out functionality
6. Try accessing the dashboard directly when signed out - you should be redirected to the sign-in page
Summary
In this tutorial, we've built a complete authentication system with NextAuth.js using JWT sessions. We've implemented Google OAuth and credential-based authentication, created protected routes, and handled login/logout flows.
To expand your authentication system, consider exploring:
• Database integration for storing user data
• Middleware for more robust route protection
• Role-based access control
• Email verification
• Password reset functionality
Congratulations! You've successfully implemented authentication in your Next.js application using NextAuth.js. This foundation will serve you well as you build more complex applications requiring user authentication.